Showing posts with label Bookbinding. Show all posts

Saturday, August 19, 2006

Decorated the slipcase...

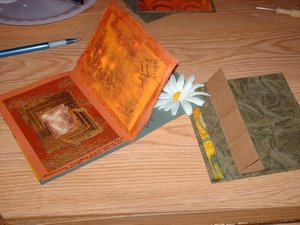
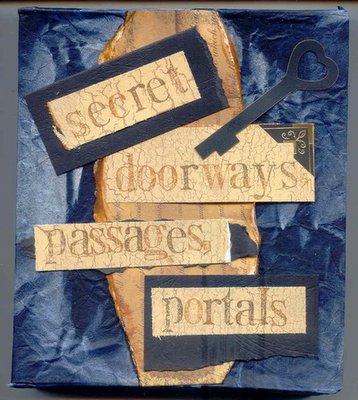
As an after thought, I decided instead of decorating the covers of the books themselves to decorate the cover of the slipcase. Here is a scanned image of what it looks like now. I love the medival feel this has.

For my book, I added an olive green ribbon with a metal rimmed tag covered with a piece of the marbled paper and added my signature and copyright. Now to package up and ship!!! Posted by Picasa

Thursday, August 17, 2006

Ahhh, what a satisfying day...

All 4 of the books are created and bound! I only made one of the slipcases today as I can create mine anytime. I'm just happy and thrilled that Linda's is drying and will be ready to return to her soon. I need to pick up some gallon sized zip lock bags tonight while shopping to protect the slipcase and the books for shipping.

Tommorow, I'll work on the book decoations for the covers so that I can enclose them into her package which should be ready to ship out Saturday morning or Monday at the very latest. I'm shipping these Priority Mail so she'll be able to have these lovely creations very, very soon. I'm excited to hear what her response is to them; I'm almost certain she is going to love them! {*ahhhh, yep... that is a sigh of relief!}

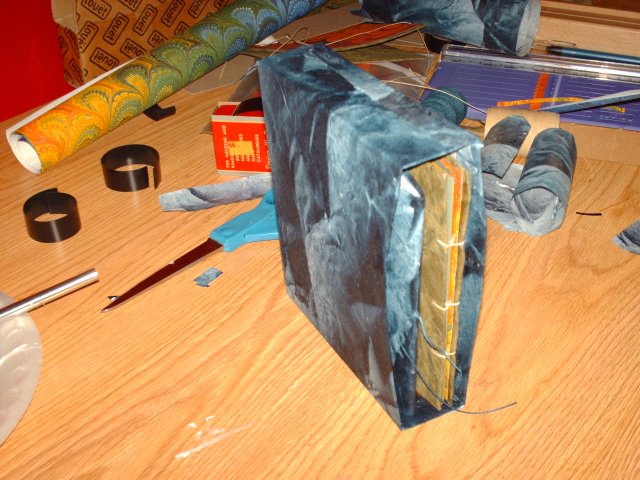
The Finished Slipcase with Books

Here is the finished slipcase with the books inside. Posted by Picasa

Step 5

After half of the slip case is assembled, I flip it over onto the reverse side and trim my corners. The overhanging paper is then glued to the top, the bottom, and to line the opposite inside of the slipcase. You will see the cut areas on the top and bottoms, if it bothers you, additional paper can be cut the width and length of the case and adhered once assembling is finished. Posted by Picasa

Step 4

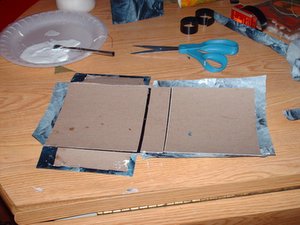
Next, PVA is applied liberally to the reverse side, shown in the last photograph, and flipped over onto my desired paper. Then, I trim it and cut all the necessary fold lines. Posted by Picasa

Step 3

Here I used a gummed cloth mending tape to adhere the assembled box together. Gummed linen tape made by Lineco would also work; this is just what I happened to grab out of the studio. Posted by Picasa

Step 2

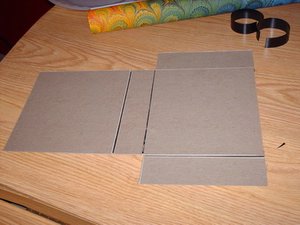
Next, the case is laid out in the fashion it will be assembled. Posted by Picasa

Creating the Slipcase for the books...

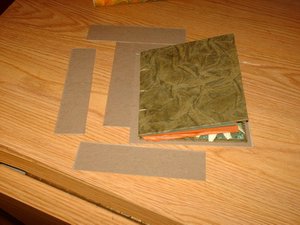
Before I begin cutting, I first have to determine the actual size of the books. My book is just a fraction of a inch larger than Linda'd due to the binding so for this illustration, I'm using it. I determine the height, length, and width of the books. The height and length using mine; the width using both books. I cut 2 side panels, 2 tops {1 actually to be used for the bottom}, and one the length and width needed. You can see in this photograph that there is approx. 1/8" - 1/4" surrounding my book. Posted by Picasa

A disclaimer...

Normally, a coptic stitch book will contain more than one set of signatures so I'd like to a moment to explain that. How would add more signatures? Before you'd move on to the step where I explain how to attach the back book cover, you would add a signature there.

You would come from attaching the first book cover and add your sigature, bring your needle down into that new signature from the outside to the center of the signature, work your way up to the next hole, pulling your thread taunt once again, and pull it out to the outside center. From here, you take your needle and thread and create a loop through the threads holding the first signature in place. Always be certain that you are creating your loops at the same angle... such as left to right or right to left. This will provide a uniform look to your finished book. Bring your needle back down the same hole in the same signature and up through the top hole and again loop your thread through and add your next signature bring the thread down into it. When you reach the bottom hole you'll catch the previous sewn signature; continue working until all signatures are added, then attach your cover. Your thread should always end inside the book's signature once your last hole in the back cover is attached. Tie off a square knot and trim your thread.

It is truly easier than it sounds, it is something you have to try to believe it could possibly be as easy as it is!!! Enjoy!

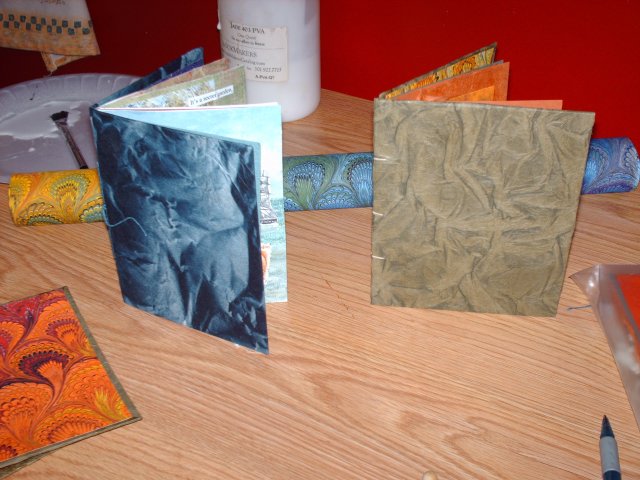
The 2 Books are bound!

Aren't these pretty? Posted by Picasa

Sewing...

The coptic stitch starts inside the book's center signature and a tail is left. I sew from the inside bottom hole to the outside of the signature. From there, the thread is taken under the book cover and through the cover, where it taken back down into the signature of the book once more. The thread is taken to the center hole in the signature and sewn through the signatures to the outside again where this step is repeated then on to the last hole. When I reach the last hole for attaching the front cover, I start to work on attching the back cover. Since, my thread is in the inside of the signature and I need it outside the signature to begin again, I simply take it through to the bottom hole on the opposite end of the book and repeat the above steps. Posted by Picasa

Binding my book...

Binding my book is a bit different since I choose to use a Coptic stitch. I use the same gig for the placement of the book holes only this time I make them in from the left edge of the book covers... approximately 1/4" or so. I use the awl guild on the signatures to create the same template as the pamphlet stitched book. Posted by Picasa

Sewing the Pamphlet stitch.. and the bound book

Next, I thread my needle with waxed linen thread. I determine the length of the thread by the lenght of the book cover X 3. Starting from the outside center hole, leaving a 2" tail, I sew through the book cover and the signatures to the top hole and come back out. From there, I skip the center hole, go the bottom hole and again stitch in through the book cover and the signatures. I pull the thread taunt, carefully, just enough to be sure it is snug without tearing. From the bottom hole on the inside of the book, I bring my needle up to the center again, using my opposite hand, I move the waxed linen tail on the outside of the cover over so that I can capture the single thread that I previously sewed, and bring my needle and thread back out of the signatures and the cover. Trim the thread with the needle end attached to 2" and tie a square knot after being certain the book is taunt. Here is a picture of the book actually bound. Posted by Picasa

Preparing the book cover...

Next, I use the same gig and the Louet awl guide to punch holes in the center of books folding cover. I use the awl guide to line up each of the 3 holes then, use the awl to punch through the book cover. Posted by Picasa

Binding a Pamphlet Stitch

I am often asked how I determine the placement of my bookbind holes so I'll tell you. I use a gig. A gig is a simple piece of paper that is the same height as the book and I normally make mine at least a 3/4" wide. This one was just randomly cut. First, I fold it in half along the width to determine a center point. Next, I unfold it, and fold in half length-wise to determine my center hole placement, then I fold each end into the center. Were the folds intersects, is where I make my holes. This photograph shows Linda's book, open to the center of her signatures which the gig in place. I lay it in the Leout awl guide to assist me with getting the holes punch in the center of the signatures. Posted by Picasa
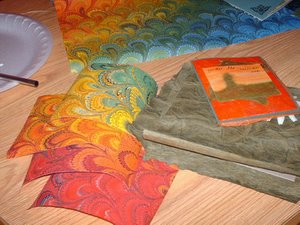
This is the papers I've choosen for Linda's book. The dark marbled blue is the cover and the handmade marbled paper is the endsheets. Linda's book will be pamphlet stitched in using a French Blue waxed linen thread. Posted by Picasa
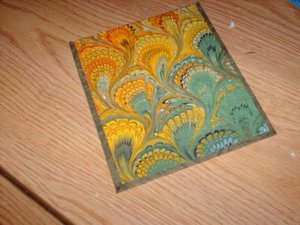
This picture shows my section of the book and the paper used for my book covers and the endsheet papers. I love this color scheme. Posted by Picasa
Here is the endsheet added to the bookboard. This book is for my book and will be coptic bound so there is no actual spine. The book's signatures will show along with the waxed linen thread used to bind it together. Posted by Picasa
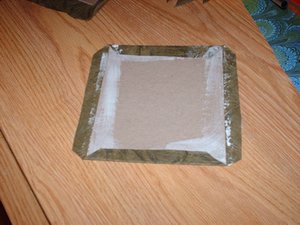
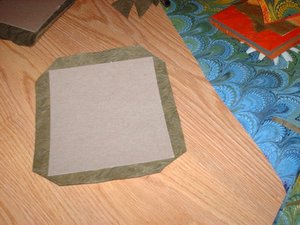
In this step, I've added PVA to all four sides of the bookboard. Afterwards, I tip the bookboard up and over to adhere the remaining cover paper. I tend to work from the top to the bottom, then from the sides from side to side. This allows me to create perfectly mitered corner almost every time. Posted by Picasa
Next I trim the edges of the cover paper and miter all four corners. I cut approximately 1/8" from the bookboard corners. This allows me a nice mitered corner when the sides are adhered. Posted by Picasa